


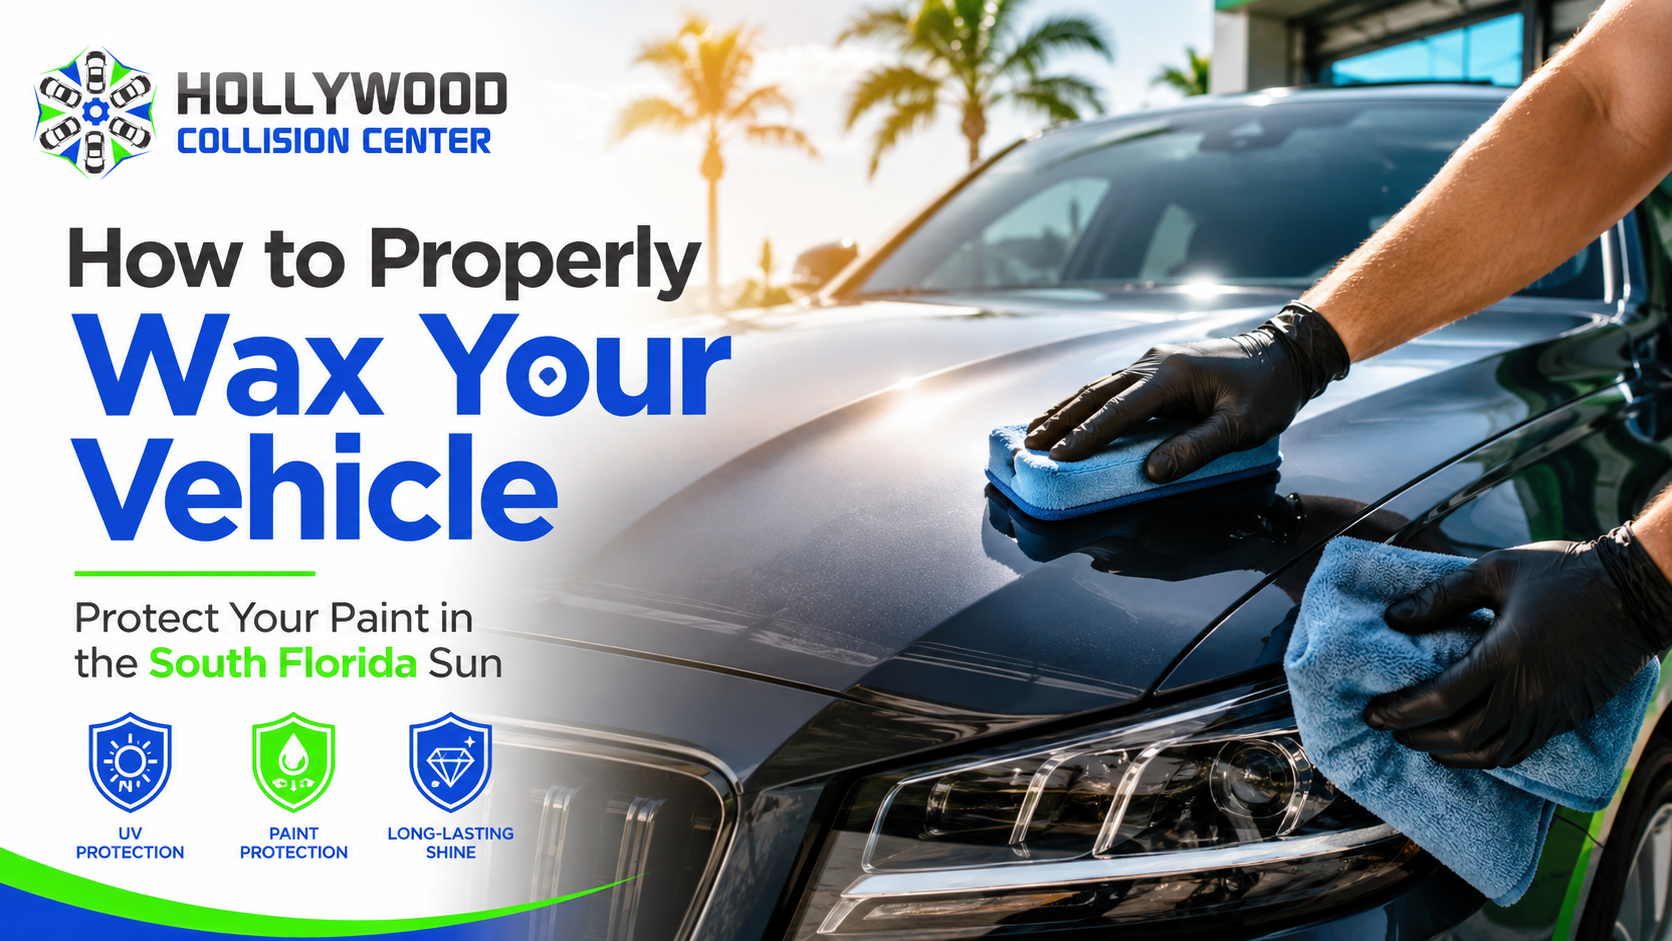
South Florida sunshine may be great for beach days, but it can be extremely hard on your vehicle’s paint.
Between intense UV exposure, high humidity, salt in the coastal air, heavy rain, tree sap, bird droppings, road debris, and year-round heat, vehicles in Hollywood, Fort Lauderdale, Davie, Miramar, Pembroke Pines, and the surrounding Broward County area face constant environmental damage.
Regularly washing and waxing your vehicle is one of the simplest ways to help preserve its paint, maintain its shine, and protect its long-term value.
At Hollywood Collision Center, we see firsthand what happens when automotive paint is left unprotected. Clear coat oxidation, fading, stains, and surface deterioration can eventually turn a minor appearance issue into a more costly paint repair.
Here is how to wax your vehicle correctly and why it matters so much in the South Florida climate.
Why Is Waxing Your Car Important in South Florida?
Modern automotive paint typically includes several layers, including primer, color and a protective clear coat. The clear coat gives the vehicle its shine while helping protect the color underneath.
However, the clear coat is constantly exposed to the elements.
In South Florida, regular waxing helps create an additional protective barrier between your vehicle’s finish and common sources of damage, including:
Intense sunlight and UV exposure Heat and humidity Coastal salt and airborne contaminants Acidic bird droppings Tree sap Bug residue Rainwater spots Road grime Pollen and dust
Wax does not make your vehicle immune to paint damage, but it can reduce how quickly contaminants bond to the surface and make the vehicle easier to clean.
How the South Florida Sun Affects Vehicle Paint
Constant exposure to sunlight can gradually weaken and dull a vehicle’s finish. Over time, unprotected paint may begin to look cloudy, faded or uneven.
Dark-colored vehicles may show water spots and swirl marks more easily, while red, blue and other bright colors can appear noticeably faded as they age.
Parking outside every day can accelerate this process, especially when the vehicle is exposed to direct sunlight during the hottest hours of the afternoon.
Waxing your vehicle regularly can help preserve the clear coat’s appearance and slow down visible deterioration caused by the South Florida sun.
How Often Should You Wax Your Vehicle?
How often you should wax your car depends on several factors:
Whether the vehicle is parked outdoors or in a garage How often it is driven How frequently it is washed The type of wax or sealant used Exposure to sun, salt, rain and contaminants
As a general guideline, many traditional car waxes should be reapplied every two to four months. Vehicles parked outside in South Florida may benefit from more frequent protection.
Always follow the instructions provided with the product you choose. Some synthetic sealants and ceramic-based products are designed to last longer than traditional wax.
One simple way to check your protection is to observe how water behaves on the paint. If water beads tightly and rolls away, some protection may still remain. If it spreads flat across the surface, it may be time to reapply wax.
What You Need to Wax Your Car Properly
Before getting started, gather the following supplies:
Automotive car-wash soap Two clean wash buckets Soft wash mitt Clean microfiber drying towels Clay bar or surface decontamination product, if needed Quality automotive wax or paint sealant Foam or microfiber applicator pad Several clean microfiber buffing towels
Avoid household dish soap. It can strip existing wax and is not formulated for regular use on automotive finishes.
Step 1: Wash the Vehicle Thoroughly
Never apply wax over a dirty vehicle.
Dirt, sand and road debris can become trapped beneath the applicator and create fine scratches or swirl marks during the waxing process.
Wash the vehicle using automotive soap, clean water and a soft wash mitt. Work from the top of the vehicle downward because the lower panels usually contain the most dirt.
Rinse the wash mitt frequently and avoid washing the vehicle in direct sunlight whenever possible.
Step 2: Dry the Vehicle Completely
After washing, dry the vehicle with clean microfiber towels.
Allowing water to air-dry in the South Florida heat can leave mineral deposits and visible water spots on the paint.
Use a gentle blotting or gliding motion rather than pressing heavily against the surface.
Step 3: Inspect the Paint
Run your hand lightly across the clean paint.
If the surface feels rough or gritty, it may contain bonded contaminants that normal washing cannot remove. A clay bar or automotive surface decontamination product may help create a smoother finish before waxing.
Follow the product directions carefully and keep the surface properly lubricated during the clay-bar process.
Waxing over contamination may temporarily add shine, but it will not create the smoothest or most durable finish.
Step 4: Park in a Shaded, Cool Area
Do not apply wax to hot paint.
Wax can dry too quickly on a hot surface, making it difficult to remove and potentially leaving streaks or uneven residue.
For the best results, work:
Inside a garage Under a covered area Early in the morning Later in the afternoon when the surface has cooled
The paint should feel cool before application begins.
Step 5: Apply a Thin, Even Layer
More wax does not mean more protection.
Apply a small amount of product to a clean applicator pad and spread it evenly across one section at a time.
Work on manageable areas, such as:
Half of the hood One door One fender A section of the roof One quarter panel
Use light pressure and overlapping motions. A thin, even coat is easier to remove and reduces wasted product.
Avoid applying wax to unpainted textured plastic, rubber trim, glass or matte surfaces unless the product specifically says it is safe for those materials.
Step 6: Allow the Wax to Haze
Let the product sit for the amount of time recommended by the manufacturer.
Many traditional waxes will develop a light haze when they are ready to be removed. Drying times can vary depending on the product, temperature and humidity.
Do not leave the wax sitting on the vehicle longer than recommended.
Step 7: Buff With a Clean Microfiber Towel
Use a clean, dry microfiber towel to gently remove the wax.
Turn or replace the towel frequently so you are always working with a clean section.
Continue buffing until the finish looks smooth, clear and streak-free. Inspect the vehicle from different angles to make sure no residue remains around body lines, emblems or trim.
Common Car-Waxing Mistakes to Avoid
Proper technique matters. Some of the most common mistakes include:
Waxing a Dirty Vehicle
This can grind contaminants into the paint and create scratches.
Working in Direct Sunlight
Hot panels can cause the wax to dry unevenly and become difficult to remove.
Applying Too Much Product
Thick layers waste wax and make buffing more difficult.
Using Dirty Towels
Reusing contaminated towels can create swirl marks and fine scratches.
Using the Wrong Product
Not every wax is appropriate for every finish. Matte paint, vinyl wraps and certain specialty coatings require specific care.
Ignoring Bird Droppings and Tree Sap
Wax helps protect the surface, but contaminants should still be removed quickly. Bird droppings and tree sap can stain or etch the clear coat if left on the paint too long.
Can You Wax a Newly Painted Vehicle?
If your vehicle has recently received collision repair or refinishing work, do not wax the repaired panels until the body shop confirms that the new paint is ready.
Automotive refinishing materials need time to cure properly. Applying wax or sealant too soon may interfere with that process.
The safe waiting period can vary based on the paint system, repair process and manufacturer instructions. Always follow the guidance provided by your collision repair facility.
Wax, Paint Sealant or Ceramic Coating?
Drivers now have several options for protecting automotive paint.
Traditional Car Wax
Traditional wax can provide shine and short-term protection. It is generally affordable and easy to apply.
Synthetic Paint Sealant
Paint sealants are designed to offer longer-lasting protection than many traditional waxes and may be a good option for vehicles exposed to South Florida weather year-round.
Ceramic Coating
Professional ceramic coatings can provide longer-term protection, easier maintenance and strong water-repelling properties. However, they still require proper washing and ongoing care.
No product eliminates the need to maintain your vehicle. Even coated vehicles should be washed regularly and inspected for contamination.
Additional Ways to Protect Your Vehicle’s Paint
Waxing is only one part of paint maintenance.
To help protect your vehicle in South Florida:
Park in a garage or shaded area when possible Wash the vehicle regularly Remove bird droppings and tree sap promptly Avoid automatic car washes with harsh brushes Use clean microfiber towels Repair paint chips before corrosion develops Avoid parking directly under trees for long periods Consider a quality sealant or ceramic coating Keep newly repaired paint maintained according to professional instructions When Paint Damage Requires Professional Attention
Wax can improve gloss and add protection, but it cannot repair every paint problem.
Professional attention may be needed if you notice:
Peeling clear coat Significant oxidation Deep scratches Exposed metal Paint bubbling Severe fading Cracking Collision damage Rust development
These issues may require polishing, paint correction, refinishing or collision repair.
Protect Your Vehicle’s Finish With Hollywood Collision Center
Maintaining your vehicle’s paint is about more than appearance. Proper care can help preserve the clear coat, prevent avoidable damage and protect the vehicle’s resale value.
If your vehicle has faded paint, scratches, peeling clear coat or damage from an accident, Hollywood Collision Center is here to help.
Our collision repair professionals serve drivers throughout Hollywood, Fort Lauderdale, Davie, Miramar, Pembroke Pines and surrounding South Florida communities.
Contact Hollywood Collision Center to schedule an inspection, request a virtual estimate or learn more about protecting and restoring your vehicle’s finish.